Starting your first beginner sewing project is very rewarding. I remember the excitement of making my first handmade item. It turns a simple fabric into something useful every day.
I use a trusted tote bag sewing pattern for my projects. This pattern helps me avoid mistakes. It lets me focus on improving my skills with confidence. This guide is perfect for beginners or those wanting a quick project.
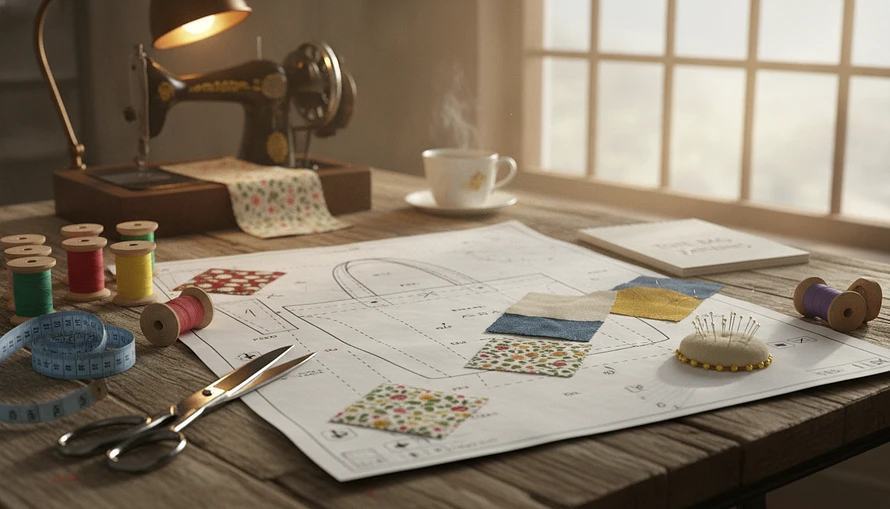
We will go through each important step together. You'll learn how to pick the right materials and set up your layout. We'll also cover how to make precise cuts and the basic construction techniques.
You'll see how to make a sturdy and stylish tote bag that will last for years.
Key Takeaways
- Choose durable fabrics like canvas or heavy cotton for the best results.
- Always press your fabric before cutting to ensure accurate measurements.
- Use a consistent seam allowance to keep your construction uniform.
- Reinforce stress points at the handles to increase the longevity of your work.
- Take your time during the assembly phase to achieve a professional finish.
Choose Fabric, Tools, and the Right Tote Bag Sewing Pattern
Starting a project means picking the right fabric and setting up your space. You need a good downloadable pattern to follow. Preparing these things now will save you trouble later.
Pick Beginner-Friendly Woven Fabric
Compare Cotton Canvas, Quilting Cotton, and Lightweight Denim
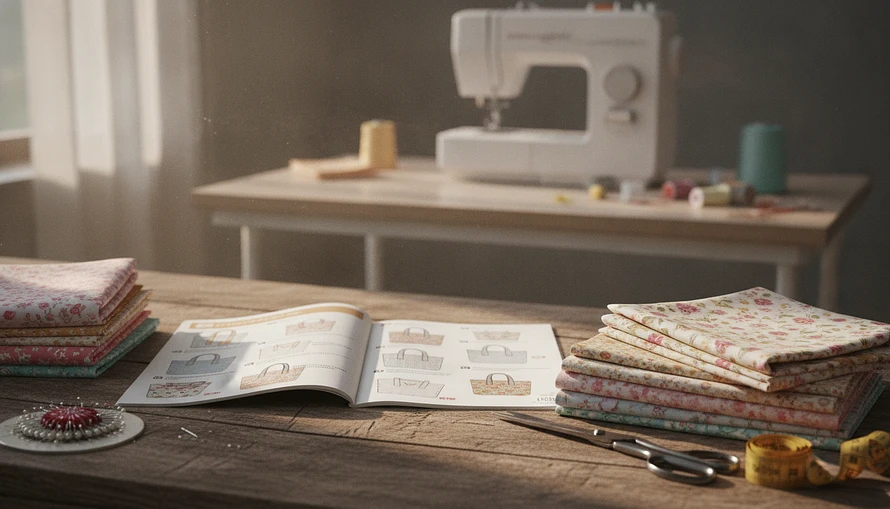
Choose fabrics that don't stretch. Cotton canvas is strong and good for daily use. Quilting cotton is easy for beginners but might need interfacing.
Lightweight denim looks stylish and gets better with time. Each fabric acts differently, so pick one that fits your skill.
Match Fabric Weight to the Bag’s Intended Use
Think about what you'll carry in your bag. For heavy loads, heavyweight canvas is best. For light items, quilting cotton is perfect.
Fabric Type Durability Ease of Sewing Best Use Cotton Canvas High Moderate Heavy-duty totes Quilting Cotton Low High Lightweight bags Lightweight Denim Medium Moderate Casual everyday bagsGather Essential Sewing Supplies
Prepare Thread, Needles, Pins, Scissors, and a Sewing Machine
Start with a clean sewing machine and good polyester thread. You'll need sharp pins and sharp fabric shears for cuts. Use a universal needle size 80/12 or 90/14 for most fabrics.
Use an Iron, Measuring Tool, and Fabric Marking Tool
A hot iron is key for flat seams. Keep a ruler and fabric marker for accurate measurements. These tools make your project look professional.
Download and Check the Pattern
Print the Pattern at Actual Size
Make sure your downloadable pattern is printed right. Always choose "Actual Size" or "100% Scale" in your printer settings. Wrong size ruins your bag's shape.
Confirm the Test Square and Assemble Pattern Pages
Check the test square on your downloadable pattern first. Use a ruler to confirm its size. Then, cut the margins and tape the pages together for your templates.
Prepare the Fabric and Cut Each Tote Bag Piece
I start by prepping and cutting my fabric carefully. This ensures the best results. Follow these step-by-step instructions to avoid mistakes.
Step 1: Prewash, Press, and Square the Fabric
Prevent Shrinkage Before Cutting
I always prewash my cotton fabrics. Washing and drying before cutting prevents shrinkage. This way, your bag won't change size after sewing.
Align the Grainline and Folded Edges
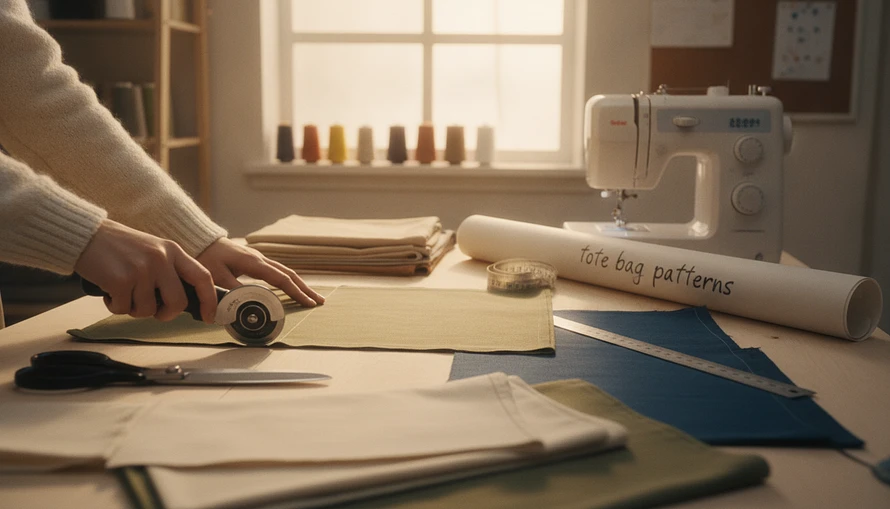
After drying, I press the fabric flat. Then, I align the selvage edges for a straight grainline. This keeps the bag from twisting or hanging unevenly.
Step 2: Transfer the Pattern and Seam Allowances
Mark Notches, Fold Lines, and Strap Placement
I use tailor's chalk or a marker to trace the pattern. Marking notches and fold lines is crucial for assembly.
Cut Matching Exterior, Lining, and Strap Pieces
I cut out the exterior, lining, and straps with sharp shears. Including seam allowances ensures a perfect fit.
Step 3: Label the Cut Pieces
Separate the Exterior and Lining Fabrics
I keep the exterior and lining pieces separate. This prevents sewing the wrong fabric to the wrong side.
Keep Right Sides and Directional Prints Consistent
Pay attention to directional prints. Double-check that the "right" sides face the correct way before assembly.
- Labeling: Use masking tape or pins to identify each piece.
- Direction: Ensure prints are oriented toward the top of the bag.
- Precision: Double-check your measurements before making the final cut.
Construct the Exterior of the Tote Bag
Now that my fabric is cut, I'm ready to start building my handmade tote. This is the most exciting part. The flat fabric will soon become a real bag.
Step 4: Sew the Exterior Side and Bottom Seams
Pin the Main Panels with Right Sides Together
I place my two main panels together with the right sides facing in. I align the edges and pin them along the sides and bottom. This keeps the fabric steady while I sew.
Stitch a Consistent Seam Allowance
I sew along the pinned edges with a steady seam allowance. Consistency is key for a pro-looking bag. I keep the fabric edge aligned with my presser foot's guide.
Step 5: Create a Flat or Boxed Bottom
Align the Bottom Corners for Extra Depth
To add more room, I make a boxed bottom. I pull the bottom corners apart to form a triangle shape.
Secure the Corner Seams with Backstitching
I mark a line across the corner and stitch it to make a flat base. It's crucial to backstitch at the start and end to keep the bag strong.
"Quality construction is the foundation of every great project, turning simple fabric into a reliable companion for your daily adventures."
Step 6: Finish the Exterior Seams
Use Zigzag Stitching or a Serger to Reduce Fraying
Raw edges can fray and weaken my handmade tote. I use a zigzag stitch to lock the threads and keep the interior neat.
Press Seams Open or Toward One Side
Lastly, I press my seams flat with an iron. Pressing makes the bag sit right and look clean and polished.
Make Strong Straps and Sew the Lining
Creating a sturdy diy tote bag means focusing on the straps and lining. These parts decide how much weight your bag can hold and how long it lasts.
Step 7: Fold and Press the Tote Bag Straps
Center-Fold the Strap Fabric for Even Width
I start by folding my strap fabric in half lengthwise and ironing it. This makes a crisp crease to guide the next folds. Then, I fold the raw edges toward the center to make the width even.
Topstitch Both Edges for a Handmade Finish
After folding and pressing, I pin the straps to keep them in place. I carefully sew along both edges with matching thread. This makes the straps strong and prevents them from stretching.
Step 8: Attach the Straps to the Exterior
Measure Equal Strap Placement from Each Side Seam
To make sure my diy tote bag hangs straight, I measure the strap placement. I place them three inches from the edge on both sides. I mark these spots with a fabric marker for symmetry.
Baste the Straps and Reinforce the Attachment Area
I baste the straps in place with a long stitch. Then, I sew a small square with an "X" at the attachment point. This reinforcement makes the bag strong for heavy loads.
Step 9: Assemble the Lining
Sew the Lining Panels and Leave a Turning Opening
Next, I sew the lining panels together, leaving a four-inch gap at the bottom. This gap is essential for turning the bag right-side out. I backstitch at the start and end to keep the seams from coming undone.
Box the Lining Corners to Match the Exterior
Finally, I box the corners of the lining like the exterior. This gives a professional fit and keeps the lining inside neatly. By matching the lining depth to the exterior, my diy tote bag stays neat and functional.
Join the Bag, Turn It, and Finish the Top Edge
Connecting the outside and inside of the bag is the best part of sewing. Whether you're using a standard pattern or a reversible tote tutorial, these steps make your bag look great and last long.
Step 10: Connect the Exterior, Lining, and Straps
Place the Exterior Inside the Lining with Right Sides Together
Put your bag's outside inside the lining so the right sides face each other. Make sure the straps are tucked in, pointing down.
Match Side Seams, Strap Positions, and Notches
Line up your side seams carefully to avoid twisting. Pin the layers at the seams and strap marks to keep things in place while sewing.
Step 11: Sew and Grade the Top Seam
Stitch Around the Entire Opening Without Catching the Straps Incorrectly
Sew around the top edge with the right seam allowance. Be careful not to catch the straps in the seam. Leave a small gap for turning the bag later.
Trim Bulk at Corners and Clip Curved Areas
Grading the seam is key for a clean finish. Trim the seam allowance to about one-quarter inch. Clip curves to help the fabric lay flat once turned.
Step 12: Turn the Tote Through the Lining Opening
Push Out the Corners with a Blunt Point Turner
Use the gap in the lining to pull the outside through. A blunt point turner helps make the corners square and crisp.
Press the Top Edge Before Topstitching
Iron the top edge flat carefully. A well-pressed edge makes topstitching easier and improves the look of your project.
Step 13: Close the Lining Opening and Topstitch
Slipstitch or Machine-Stitch the Turning Gap
Fold the raw edges of the gap inward and press. You can close it with a hidden slipstitch or a row of machine stitching close to the edge.
Add One or Two Rows of Topstitching for Stability
Topstitch around the top opening to secure the layers and add strength. This step in your reversible tote tutorial keeps the bag's shape and gives it a polished finish.
- Check your tension before topstitching.
- Use a longer stitch length for a professional look.
- Ensure the straps are pulled taut before sewing the final edge.
Customize the Finished Bag and Fix Common Sewing Problems
Turning a simple project into a unique accessory is the best part of sewing. By focusing on a customizable tote design, you can make your bag special. It will show off your personal style.
Personalize the DIY Tote Bag
Add an Exterior Pocket, Label, Appliqué, or Embroidery
Adding a pocket is great for keeping your phone or keys handy. You can also add a custom label or use appliqué for colorful designs. Embroidery is another way to make your bag truly yours.
Adapt the Strap Length, Bag Size, and Fabric Combination
You can change the bag's size to fit your needs. A longer strap is comfy for carrying. A smaller bag is perfect for quick trips. Mixing fabrics adds a professional touch to your customizable tote design.
Turn the Design into a Reversible Tote Tutorial
Use Coordinating Fabrics for Both Sides
Make your bag reversible by using two fabrics. This way, you get two looks without changing the pattern.
Keep Seam Finishes Neat on Either Side
For a reversible bag, press seams flat and trim them well. A clean finish on all edges keeps the bag neat. This makes it look good on either side.
Troubleshoot Beginner Sewing Issues
Correct Uneven Seams, Puckering, and Wavy Topstitching
Puckering? Try adjusting your thread tension or using a new needle. For wavy lines, use a sewing guide or tape on your machine bed.
Repair Weak Strap Attachments and Skipped Stitches
Skipped stitches happen with a dull needle or wrong fabric size. Weak straps? Use a box-and-cross stitch pattern to strengthen them.
Common Issue Primary Cause Quick Fix Puckering Tension too tight Loosen top tension Skipped Stitches Dull needle Replace with new needle Wavy Seams Uneven fabric feed Use a walking footFollow Safe Sewing Practices
Keep Fingers Away from the Needle and Turn Off the Machine Before Adjustments
Always keep your fingers away from the needle. Safety first means turning off the power before changing needles or cleaning the bobbin area.
Use Proper Ventilation When Applying Fabric Adhesives
Work in a well-ventilated area when using fabric glues or sprays. Good airflow keeps you safe and prevents bad smells.
Conclusion
Making your own accessory is very rewarding. It adds a special touch to your day. By using an easy tote bag pattern, you learn to make things look professional.
I want to help you feel more confident with each project. Cutting right and making seams just right is key. Now, you know how to make straps strong and edges neat.
This tote bag pattern is your guide for sewing. Try new fabrics or add pockets for what you need. Every bag you make makes you better at sewing.
Keep practicing these basic steps. Show off your work to loved ones. Your sewing adventure begins with these simple steps.
FAQ
What is the best fabric to use for my first DIY tote bag?
I suggest Cotton Canvas or high-quality Quilting Cotton from Robert Kaufman or Moda Fabrics. These are great for beginners because they don't slip or stretch much. For extra durability, try lightweight denim.
How do I ensure my downloadable pattern prints at the correct scale?
Always set your printer to "Actual Size" or "100% Scale" when opening your PDF. Check the printed document for a 1-inch or 2-centimeter test square. Use a Dritz transparent ruler to confirm the dimensions before cutting.
Is this tote bag sewing pattern suitable for a complete novice?
Yes, it is! I made these instructions easy for anyone with a Brother or Singer sewing machine. It's perfect for beginners because it only uses straight seams and simple construction.
How can I turn this project into a reversible tote tutorial?
To make a reversible tote, choose two coordinating fabrics for the outside and inside. Since the top seam hides all raw edges, just flip the bag inside out. Make sure your seam finishes are neat and use matching thread like Gutermann.
What tools do I need to get started with this beginner sewing project?
You'll need sharp Fiskars fabric shears, Schmetz universal needles, sewing pins or clips, and a Rowenta iron. A Dritz chalk pencil or disappearing ink fabric marker helps mark the pattern on your fabric.
How do I make my bag sturdy enough to carry heavy items?
For a sturdy tote, reinforce the strap attachments with a "box X" stitch pattern. Use heavy-duty thread and Cotton Canvas for the exterior. This will help your bag handle daily use without wear.
Can I modify the design to include extra features?
Yes, you can customize the tote. Add an exterior slip pocket or an interior zippered compartment. Personalize your bag with custom woven labels from Dutch Label Co. or decorative topstitching on the straps.